If you’ve never baked sourdough bread, you’re missing out. I’ll openly admit that I was afraid of failure, I kept putting it off and practiced on conventional bread made with yeast.
That’s not necessarily a bad thing… I think it helped me build the confidence to make breads that require zero kneading and a bit more patience than you’d normally expect.
The foundation of a good sourdough bread is – you guessd it! – a great sourdough starter. My first sourdough starter was passed on by my neighbour Mike.
Yes, there’s a “u” in neighbour. 🙂
I neglected that thing for about a month, leaving it in the fridge while baking normal breads about once a week.
Eventually I decided to feed it and voila! It became what it was always meant to be: a good starter.
But anyway, you’re here for the recipe.
If you’ve never started your own sourdough starter, I strongly recommend using one from a friend, rather than starting your own.
An even better solution is to buy it from Etsy. I’ll tell you why in a minute.
This guy sells it in a little plastic bag that fits nicely in a normal sized envelope.
Once you buy it, you’ll also get access to his instructions for growing it.
While I love the starter that came out, the original recipe uses a bit too much flour for my liking, so I kinda tweaked it a little.
Here’s what I did:
Day 1: Get a Mason jar or any wide-mouth jar like the ones used for salsa. You want at least a 800g jar (that’s like 27 ounces if you live in the US). As your starter starts to grow, you run the risk of finding a bunch of it overflowing on your counter or the top of your fridge. It didn’t happen to me, but I heard that it’s not fun.
Disinfect your jar and tools by puring some boiling water in/over them. Make sure to stay safe! don’t burn your hands!
Note: for this recipe you will use ONLY filtered water, either from a pitcher or from plastic bottles. (I AOVID using those btw, I hate plastic waste). Microwave your water for 10. -15 seconds before use. You want lukewarm water in your starter.
Put a piece of masking tape on the jar, from top to bottom. Pour water in your jar, 100g at a time and mark each 100g level with a sharpie. This will come in handy later on.
You will perform each of the following steps step once a day, around the same time. I prefer evenings because I like to see my starter rise by the time I wake up and come down for breakfast. Of course, you can do this any time of the day, but just make sure to check it and feed it around the same time.
Mix 100g lukewarm water, 100g all-purpose unbleached flour and the contents from the little bag you got from the Etsy dude. You can use while wheat flour too. I haven’t tried using bleached all-purpose flour with this starter kit, so I don’t know how well it will work.
Stir well with a chopstick or a small wooden spoon. The final mix should be fairly hard to stir.
Cover the jar with some stretch wrap or a lid without tightening it. Wash that chopstick and set it aside. It might become your best friend for quite a while. 🙂 Set that jar on top of the fridge where the temperature is a little warmer. If you’re doing this in the summer or you keep your home super warm, then it’ll do just fine on the counter.
Day 2: Stir your mix thoroughly.
Day 3: By now you should see some bubbles at the top of your mix. Add 100g flour and 100g lukewarm water. Stir well and put it on top of the fridge.
Day 4: Throw out half of your starter and add 100g flour and 100g lukewarm filtered water. Cover and put the jar on the fridge.
Day 5: By now, 24 hours after the last feed, your starter should be bubbly and rising about 30 – 50% or more. Discard all but 100g of it, and add 100g flour and 100g water. Stir well, cover and put back on the fridge.
About half a day later, you should see the starter double in size in less than 4 – 6 hours.
Of course there’s a chance that might not happen on Day 5. It might happen earlier, or it might take a little longer.
If it takes longer, continue with the normal feeding schedule. At some point you will see your starter double in size within 4 – 6 hours of feeding.
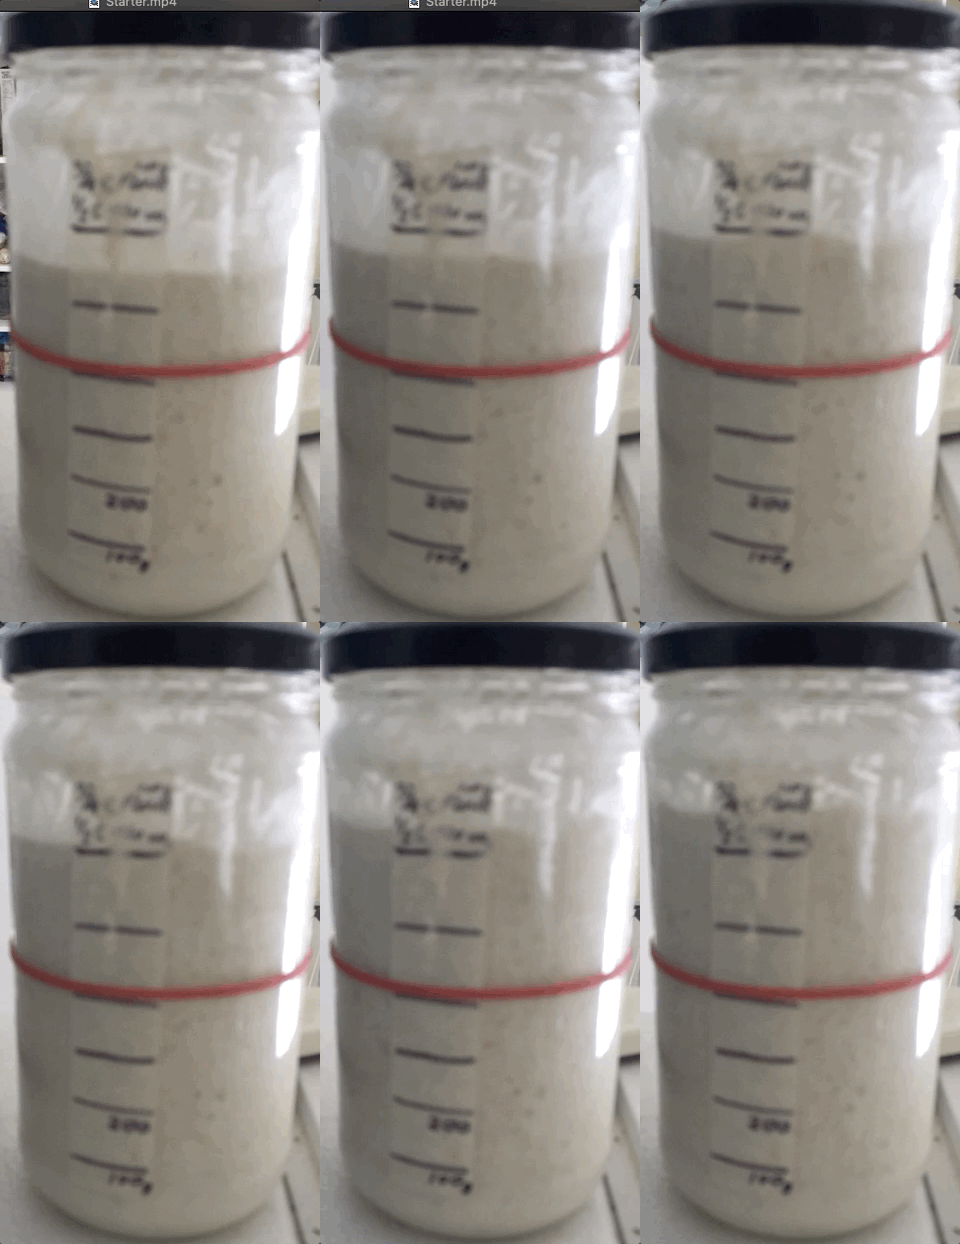
The starter in the animated image below started around where the elastic band is, and reached the top of the jar in less than 4 hours.

That’s when you’ll know that it’s ready for use!
Other things you will notice:
– There are bubbles throught the mass of the starter
– It smells kinda sweet with a subtle hint of sour. It shouldn’t smell rotten or overly acid. If that happens, then some bad bacteria got in there. If you suspect that, start over. (remember it’s important to disingfect your jar and tools before making your starter or adding ingredients to it!)
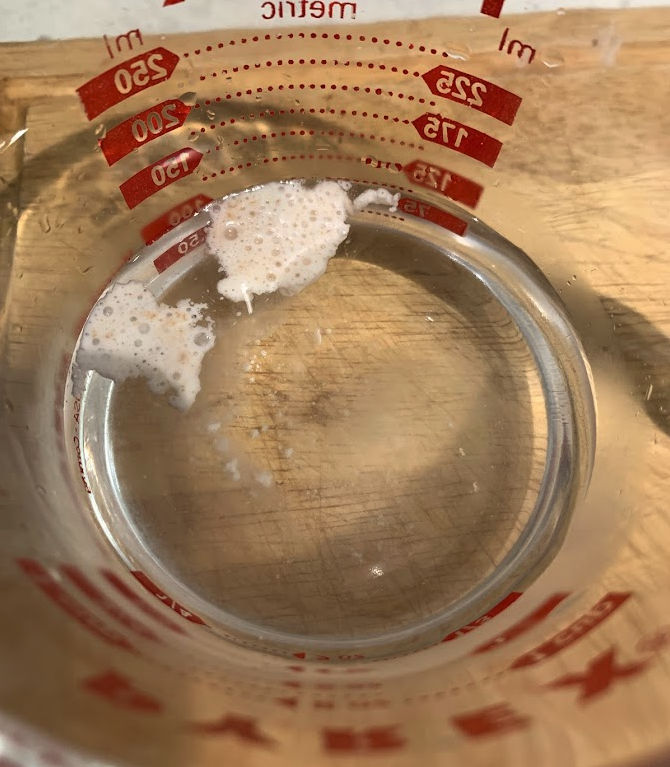
– If you put a piece of sourdough starter in water, it will float.

At this point, your starter is ready to use. If you bake once a week, like I do, it’s ok to just keep it in the fridge. Take it out of the fridge about 4 – 5 hours before you plan on starting making bread, and feed it.
Put a rubber band around the jar at the top of the mix, to mark the starting level. You’ll see it double or even more in 4 – 6 hours. Mine doubles in about 3 hours when I use the starter kit I linked above! The starter from my neighbour Mike needs about 4 hours to double in size.
The best time to use it in a recipe is after it peaked and dropped down a little. If it goes down from 2x to to 1.5 of its size, it’s still ok. You want those little bacteria in there to be as hungry as possible when you put them in your dough.
At this point you’re ready to make sourdough bread. 🙂